- Prerequirements
- Selecting a custom OS
- Getting the necessary files
- Creating a backup
- Flashing the custom ROM
- Setting it all up
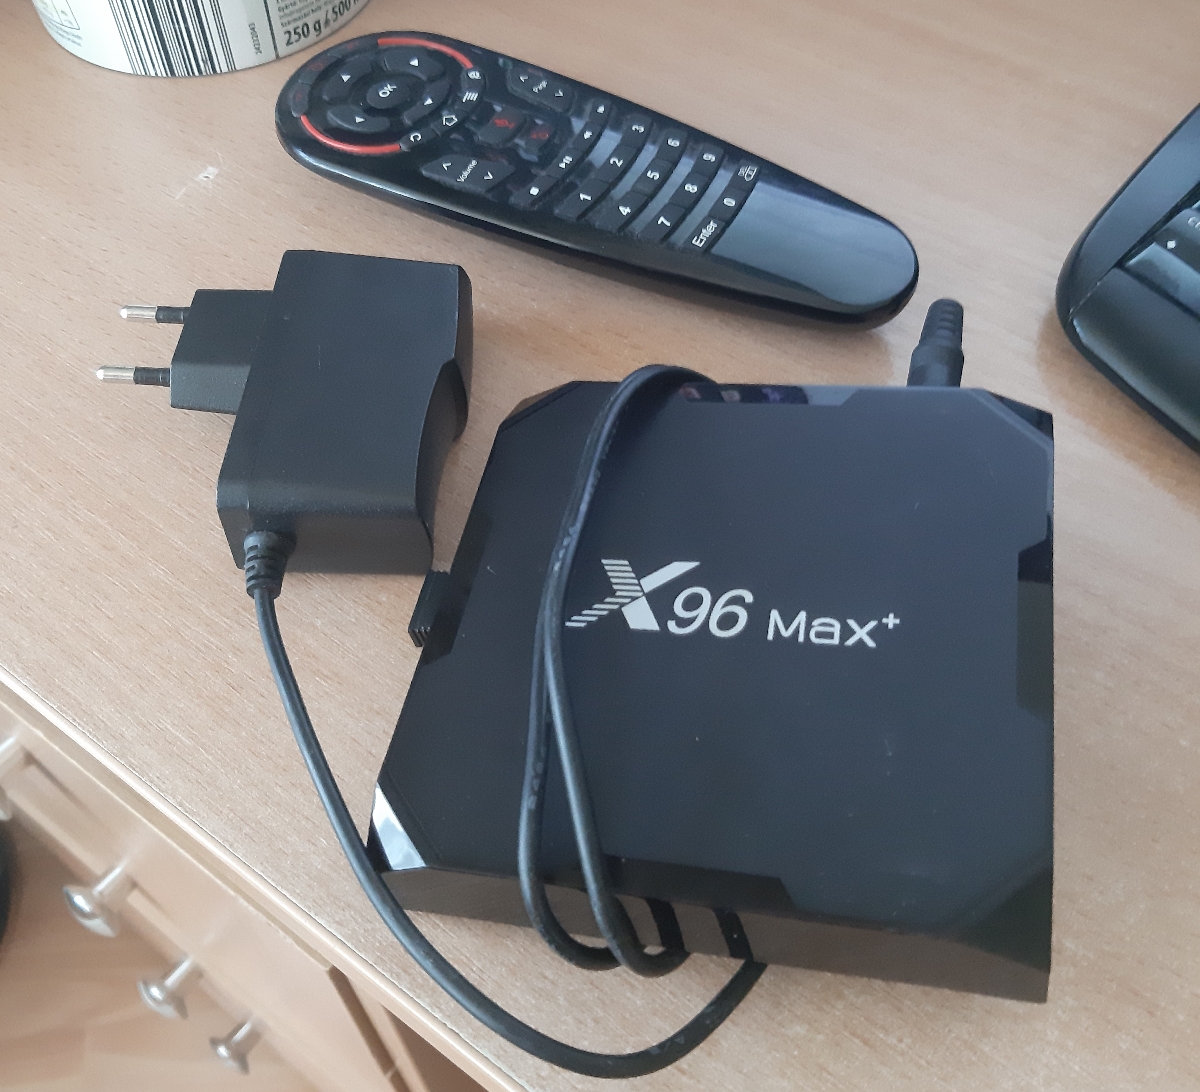
I had a cheap Chinese Android TV box laying around from around 2020 and wanted to give it a new life. This post is to document the process in case I (or anyone) else needs it sometime in the future.
Prerequirements
- 1x toothpick
- 1x USB A male-to-male cable
- 1x SD card + USB adapter
- 1x Windows VM/computer
- 1x USB mouse
Selecting a custom OS
There are a lot of choices:
- CoreELEC - "Just enough OS Linux distribution based on Kodi technology for popular Amlogic hardware"
- slimBoxTV - An Android custom ROM, made by Russians
- Aidan's ROM - An Android custom ROM, made by a guy called Aidan Macgregor
- Armbian - "Armbian is a lightweight Linux system specially built for ARM chips based on Debian/Ubuntu"
- OpenWrt - "The OpenWrt project is a Linux router operating system for embedded devices"
I went down the Android route, since I wanted to have patched YouTube application while also keeping the original "TV" functionality of the device.
First I tried the Aidan's ROM, since It had more information available (was not in Russian). However, It I found it quite buggy: the virtual keyboard did not work, it had no root, Magisk failed to install properly and the USB accessories were not recognized. After that, I tried slimBoxTv and it worked great so that is what I would recommend.
On the other hand, the Linux-based projects look very interesting and I saw some forum posts talking about dualbooting from the external SD card, so If you are into that I recommend checking out those too.
Getting the necessary files
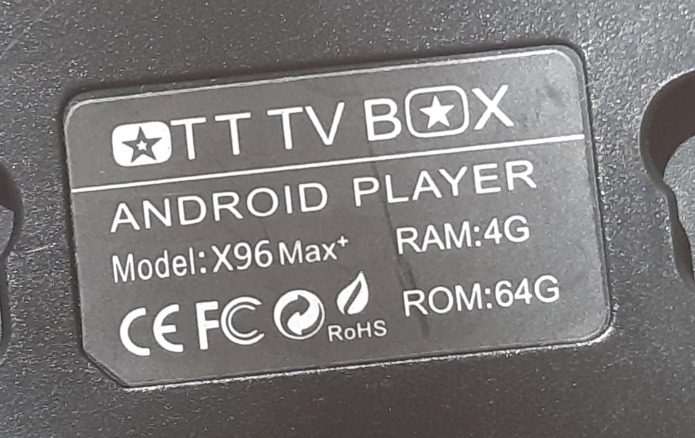
I downloaded the .img file from the ROM's website1, I selected the AOSP variant and not the atvXperience one, because it's website looked identical to Aidan's website and wanted to be as close to stock as possible.
Before flashing anything I recommend doing a complete backup using TWRP2, so you should download the latest official release.
After that, you will need the Amlogic flashing tool3, which is sadly available only on Windows.
Creating a backup
First step is to format the SD card into FAT32 (mkfs.vfat) and then copying the TWRP image into the root folder and naming it to recovery.img.
After that, while the DC power cable is disconnected you can use a toothpick to start pressing the recovery button of the device, which is hidden inside of the AV port.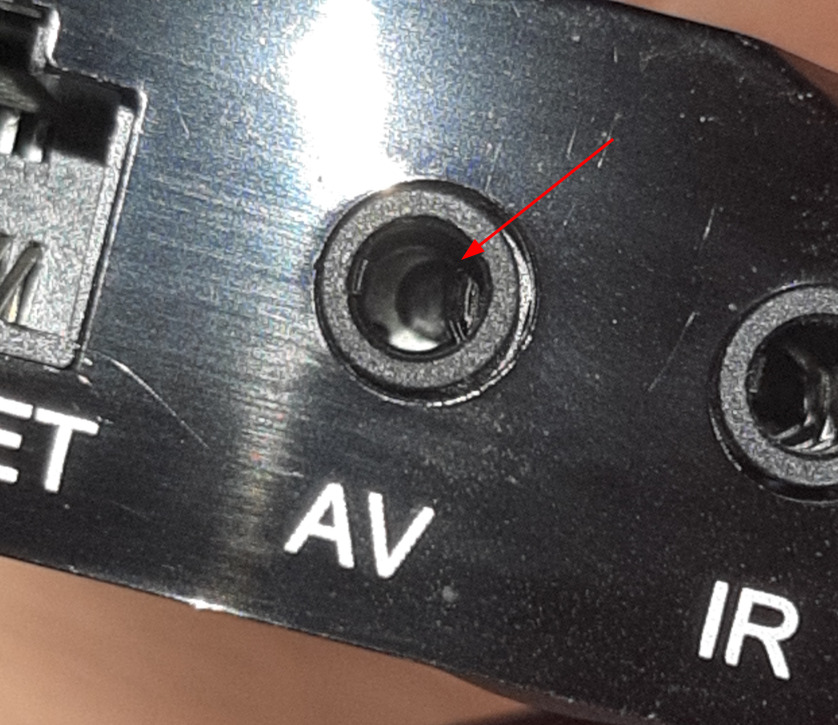
After plugging the power cord while still pressing the button and waiting a few seconds, you should boot up in TWRP.
In TWRP you can use an USB mouse to navigate around and create a backup of every partition to the SD card itself, so that you can restore stuff later if something goes sideways.
Flashing the custom ROM
After installing the Amlogic flashing tool, you can go to Settings > Load image and then browse for the .img file. If the tool thinks the image is valid, it will relaunch itself (for an older version??).
The next step is pretty simple, just click Start in the GUI first, then disconnect everything from the device and use the USB male-to-male cable to connect it to the PC. You should use the port labeled "USB 3.0" and the flashing should just work™. If the flashing fails, the firmware may be not compatible/broken, but you can always just search online for the error codes and troubleshoot.
Setting it all up
After the first boot, I recommend deleting all unnecessary apps and installing the following ones:
After installing openssh server in Termux you can remote in using SSH and you also have access to root by default ;) 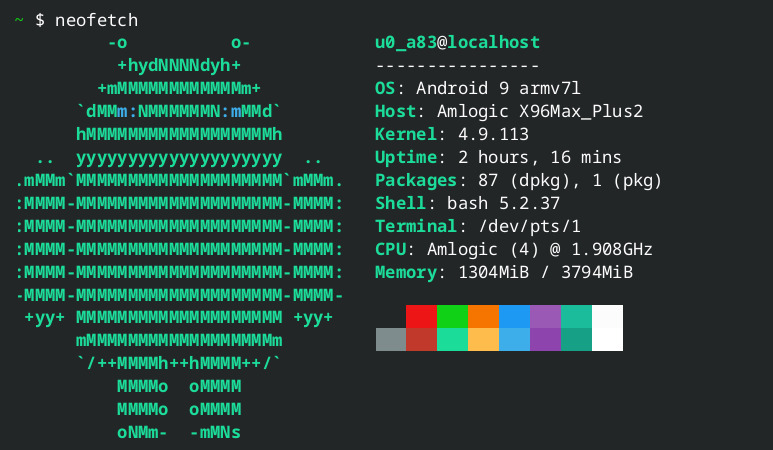
-
https://disk.yandex.ru/d/bfDLcq07tZP5bA, sbx_x96max_plus2_4gb_aosp_9_17.img, 8ff8e785860082f031d051bde36d6b4bc631d640afaae48202d329392927c9bc ↩
-
https://dl.twrp.me/u212/ twrp-3.7.0_9-1-u212.img, a8ff3f6677a6bbf4155ebf38d5b43039935f1937602b566b9a3f64a1d6835755 ↩
-
https://mega.nz/folder/j9F1SKrZ#FhQyNe1LEID-sM1vRrzjFg, Amlogic_USB_Burning_Tool_v3.2.0.zip, 53419faa8319c148d8c555fd4e34985efbb9fcd5f0e7e2eb5b5eecee97831748 ↩